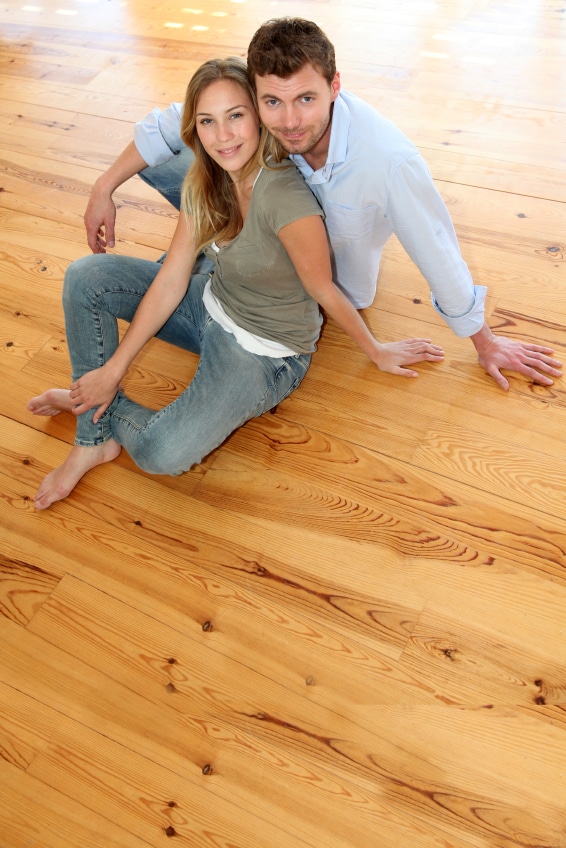
The steps to refinish hardwood floors are as follows:
1. Start by removing all of the furniture from the room. You’ll need to clear the area completely, so enlist help if you need to in order to move bulky or very heavy items.
2. Cover any light fixtures that cannot be temporarily taken down with garbage bags. Use masking tape to hold your covers in place.
3. Clean the entire floor with wood cleaner or with a combination of one part vinegar and 10 parts water. After you have wiped or mopped down the entire floor, go over it with a terry cloth towel to dry it.
4. Close the door to the room. If there is an open doorway, use plastic and masking tape to cover the entrance. This is necessary as the procedure for how to refinish hardwood floors creates a lot of dust that you don’t want to scatter through your home.
5. Place masking tape over all of your electrical outlets, light switches and vents. You do not want dust to become trapped inside of your ventilation or electrical systems.
6. For best results, start off by sanding the outer edges of the floor by hand using a piece of 180-grit sandpaper. Start at the baseboard and sand from right to left, traveling 4 to 6 inches into the room. Sand the area until the flooring develops a dull color, and you begin to see a layer of powdery dust over the boards.
7. Get ready to use a drum sander. A drum sander is the best DIY tool for those who want to learn how to refinish hardwood floors on their own. It is the simplest form of mechanical sander for novices to operate, and you can rent one affordably from Northside Tool Rental. Before using the drum sander, you’ll want to put on three pieces of safety gear: goggles for your eyes, earplugs or earmuff-style hearing protection for your ears and a respirator mask to protect your airways. Anyone else who will be working in the room with you should also have this type of protection.
8. Tilt the sander back, so that it is lifted off of the floor. Once it begins to move at a steady speed, lower it down slowly until it is resting against the floor.
9. Do practice sanding in an area where you will be putting a sofa or another large piece of furniture. This way, you won’t have to worry about any mistakes while you get acclimated to using the sander.
10. Move slowly guiding the sander over your test area. Be sure to overlap your passes by 1 to 2 inches in order to get full coverage.
11. Once you feel confident using the sander, you can begin to do the whole room. Start in the center of the room and complete one whole side. Then, do the other. You should turn the sander off every few minutes and vacuum the pad to remove debris and keep it working well.
12. After completing the sanding, vacuum the entire floor.
13. Use a microfiber cloth to wipe down the entire floor, moving the cloth in the same direction as the grain.
14. Ready your coating. You can choose to finish your hardwood floors with either a clear coat or with a colored stain. Each product should be prepared a different way. Consult the instructions on the packaging and follow them carefully for best results. If you choose to use stain, make sure that you buy enough to finish the job and a little extra.
15. Place protective covers on your shoes and begin applying the stain or clear coat. Work around the baseboards first using a hand brush. You can take off your ear protection, but keep your respirator and eye protection on while you apply the clear coat or stain to protect yourself from fumes.
16. Use a roller brush to apply your stain or clear coat to the rest of the room. It is important that you work quickly. If the stain begins to dry in one area, you could get noticeable variations in the finish. For a very large room, it is best to have more than one person applying the stain or clear coat, so that you can get the job done as quickly as possible.
17. Some types of stain and clear coat products require multiple coatings for best results. With these products, you will need to let the stain dry for a certain period of time and then sand the entire floor over again before applying the second coat. Normally, you should allow 3 hours of drying time before you sand the floors again.
18. Give your hardwood floors plenty of time to dry before you put the furniture back. Most experts recommend that you wait for 5 days to one week. Consider installing bumpers or non-marking covers on the bottoms or legs of your furniture pieces to limit wear and tear.
Now that you know the process of how to refinish hardwood floors, you’re ready to plan your project and give new life to your flooring. You can avoid the cost of purchasing your tools by renting them from Northside Tool Rental. With five locations in the Atlanta area, we aren’t far from your home, and we don’t require you to leave a costly deposit for tool and equipment rentals. Contact us to reserve the equipment for your project.

