While trees can add to the overall appeal and beauty of any landscape, there may be times when you will have to cut them down for a number of reasons. It may already be blocking a path for pedestrians and vehicles, or the tree may pose hazards to homes because of its enormous size. No matter what your reasons are for cutting a tree, be sure to apply the right techniques on how to cut down a tree to avoid injuries and ensure the safety of people around you. What’s more, you need to be sure that the tree is far from traffic, people, and power lines that may cause safety issues once the tree is cut down.
Prepare the Right Equipment
Based on the Occupational Safety and Health Administration or OSHA, there is a huge percentage of individuals that suffer tremendously while cutting down trees or performing similar logging activities. Thus, safety should be one’s main concern more than anything else.
With this in mind, it is very important to wear protective clothing and use essential safety equipment before you begin cutting. Most people also prefer to use a chainsaw instead of manual tools for tree-cutting because it is more efficient to use this equipment. Be prepared for the great amount of noise, though. A chainsaw can be challenging to use, and you will have to wear ear plugs and goggles to keep your eyes and ears well-protected as you work. Furthermore, you need to use non-slip gloves to have a better grip of the chainsaw and prevent it from slipping from your hands.
When cutting down a tree with a chainsaw, you need to use basic protective clothing and equipment such as head protection, protective pants or chaps, combination head gear, face and eye protection, ear covering, and special footwear to prevent any injuries.
Before you start using the equipment and cutting down the tree, you need to identify the direction where the tree is likely to fall. Primarily, the height of the tree must be take into account, as this can give you an idea about the total area to be affected once the tree is felled. You must observe the area carefully and be sure that there are no obstructions found along the way.
Make sure that the path where the tree will land is clear. As much as possible, there should be no stumps or uneven spaces on the area. By inspecting the location well, you can prevent any damages to the tree once it falls.
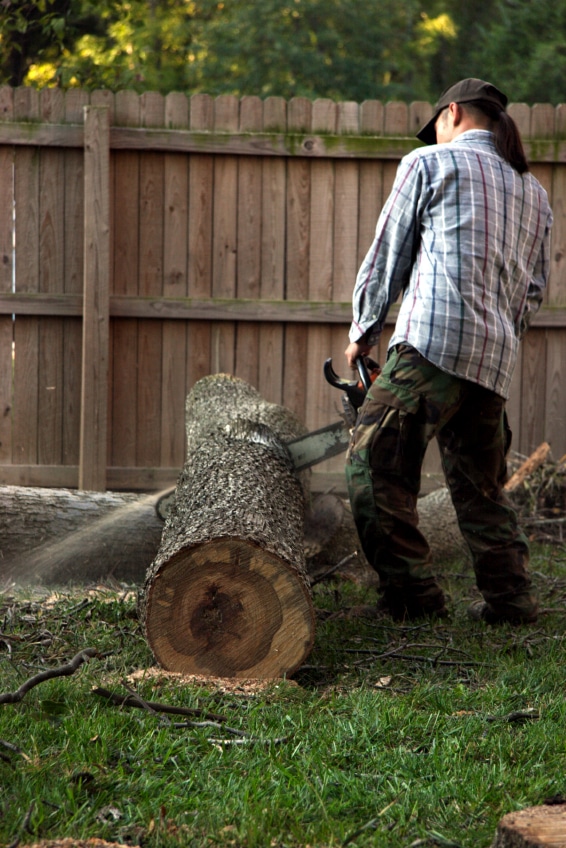
How to Start Cutting the Tree
Initially, you will need to remove the branches that are easy to reach as you stand on a ladder. If you are not using any tool initially, you should only search for branches that are easy to cut or not too large. Then, you can make the face cut or first notch to extract a thin slice of the wood. This may be accomplished by making a bottom and top cut, which should be made in a direction where the tree is expected to be felled.
The top cut often comes with a small notch shaped like a V. When making this cut, you will have to decide on the starting point, which refers to your preferred height and gives enough space for the undercut. You also need to consider your angle of attack, which is the downward cut that is consistent with the notch you are planning to make. Lastly, look for the ending point once you have cut at least 1/3 of the diameter of the trunk.
When making the bottom cut, the starting point is based on the level that will make about a 70-degree opening for the notch. As for the angle of attack, this refers to the upward cut at the proper angle that is at least 20 degrees for open face notches. Once the cut has reached the face cut’s end point, you may already stop cutting the area.
The final cut that you will have to make is the backcut, and this is created on the notch’s opposite area. By making this cut, you will be able to disconnect the majority of the tree from is stump. It also creates a hinge that will allow you to have total control once the tree falls. To begin, cut the opposite area of the notch, which must be at the same height as the notched portion. Then, cut flatly along the horizontal place, and stop cutting when there is a hinge created (about 1/10 of the total diameter of the tree).
Ensuring Safety
To ensure your safety, be sure to avoid moving away behind the tree, particularly once the tree butt tends to kick back as it falls. If possible, stand at a position where you are behind the standing tree, and quickly back away to about 20 feet of the tree that is about to land.
Moreover, the undergrowth that is surrounding the tree should be cleared well before you start cutting. Get rid of all fallen limbs and branches that may found on the ground surrounding the tree. Keep in mind that it will be difficult for you to vacate the area quickly when there are obstructions along the way. Aside from knowing the proper way of cutting the tree, you need to be aware of the best means of running from safety once the tree falls.
Additional Points to Consider
In case you notice that the lower portion of the trunk has small buttresses, make it a point to clear these items away using your chainsaw. You can use a pulling chain to remove these parts, and be sure to start the cut from the top while applying a downward stroke using your chainsaw’s lower edge. Avoid cutting limbs that are at a height above your shoulders because you may end up suffering from a serious injury by doing so.
If you are planning to cut down a dead or rotten tree, you need to take extra caution before you start. In fact, you will have to consult a professional removal service in cutting down this type of tree because of potential dangers it may cause. Hence, inspect the tree trunk carefully and look for discoloration or soft areas that can give you an idea that it is already rotting. These trees will require a larger hinge to prevent safety hazards once they fall.